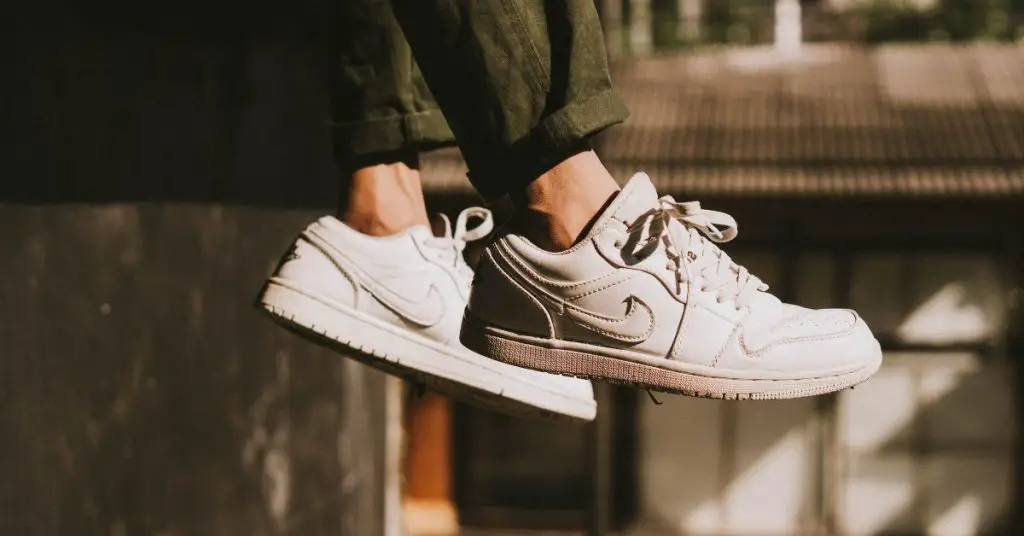
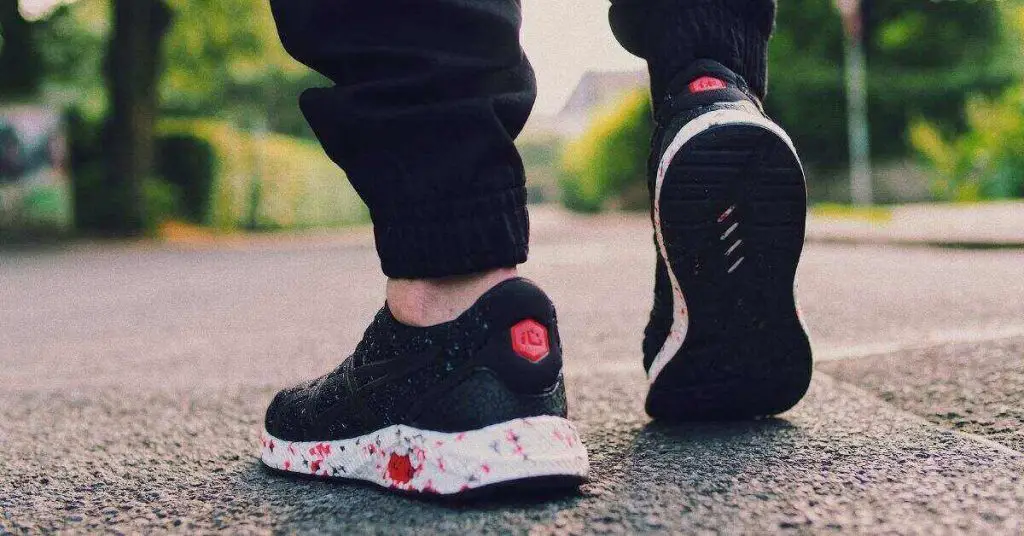
Many adventure enthusiasts wonder if they can hit the trails in something as commonplace as sneakers. In this post, we’ll answer the age-old question: “Can you hike in sneakers?” We’ll explore the pros and cons and discuss the types of terrain where sneakers might be suitable.
The Pros & Cons of Hiking in Sneakers
Hiking in sneakers can be convenient, but it may not provide enough support for rough terrains.
They are lightweight and easy to slip on, allowing you to hit the trails without any hassle. Plus, they come in various styles and colors, so you can express your individuality while exploring the great outdoors.
While sneakers offer flexibility and breathability, they may not provide the necessary ankle support and traction needed on challenging terrains. Rough trails, steep inclines, and rocky surfaces can put a strain on your feet and increase the risk of injuries.
Choosing the Right Sneakers for Hiking
When it comes to picking the right sneakers for the trail, consider the following factors:
Terrain
– Rocky trails: Look for sneakers with durable and protective soles that can handle rough surfaces without causing discomfort.
– Slippery trails: Opt for sneakers with a good grip to prevent any accidents or slips on wet or muddy terrain.
Weather conditions
– Rainy weather: Choose sneakers with waterproof materials to keep your feet dry and comfortable throughout the hike.
– Hot weather: Look for sneakers with breathable mesh uppers to allow proper airflow and prevent your feet from getting sweaty and uncomfortable.

Tips for Preventing Blisters in Sneakers
Avoiding blisters is essential for a comfortable and pain-free outdoor adventure. Here are some tips to help you prevent those pesky blisters when hiking in sneakers.
First and foremost, choose the right socks. Opt for moisture-wicking socks made of synthetic materials or merino wool. These fabrics will help keep your feet dry and reduce friction, minimizing the chances of blisters forming.
Additionally, ensure your sneakers fit properly. They should be snug but not too tight. Tight shoes can lead to excessive rubbing and blister formation, while loose shoes can cause your feet to slide around, resulting in friction and blisters.
When breaking in your new sneakers, start by wearing them around the house for short periods.
Gradually increase the duration and intensity of wear, allowing your feet to adjust to the shoes. This will help soften the materials and mold them to the shape of your feet, reducing the risk of blisters.
During your hike, take frequent breaks to rest and check your feet. If you start feeling any hot spots or discomfort, address them immediately by applying moleskin or a blister prevention tape. These products create a protective barrier between your skin and the shoe, preventing further rubbing and blister formation.
Sneakers Vs. Hiking Boots: Which Is Better
Sneakers and hiking boots each have their own strengths, and it’s important to consider the specific terrain and activity when choosing the right footwear. So, which one is better for you? Well, let’s break it down.
When it comes to sneakers, they offer a lightweight and flexible option. They are perfect for easy trails or urban hikes. Sneakers can provide great cushioning and breathability, making them comfortable for long walks. Plus, they are versatile and can also be worn for everyday activities.
On the other hand, hiking boots are designed for more rugged terrains and challenging hikes. They provide excellent ankle support, protecting you from sprains and twists. Hiking boots have sturdy soles that offer better traction on slippery surfaces. They are also more durable and can withstand rough conditions.
Ultimately, the choice between sneakers and hiking boots depends on your preferences and the type of hike you’re planning.
How to Improve Traction in Sneakers for Hiking
To enhance the traction of your sneakers when hiking, choose a pair with a rubber outsole that provides excellent grip on various surfaces.
Here are some tips to improve traction in your hiking sneakers:
– Opt for a pair of sneakers with deep lugs: These deep indentations on the outsole act like mini cleats, digging into the terrain and providing better traction. They will help you navigate through slippery rocks and muddy paths with ease.
– Look for shoes with a sticky rubber compound: This type of rubber is specifically designed to grip onto surfaces, ensuring you won’t lose your footing even on wet or uneven terrain.
– Consider sneakers with a multidirectional tread pattern: This design allows for maximum flexibility and grip in all directions, enabling you to navigate through any type of terrain effortlessly.

Hiking in Sneakers: What to Pack
Water is crucial to keep you hydrated, especially during long hikes. Snacks will provide you with the necessary energy to keep going. A map will guide you and help you stay on track, preventing you from getting lost. And a first aid kit is essential for any unexpected injuries or emergencies that may arise during your hike.
In addition to these essentials, there are a few other items you might want to consider packing. Sunscreen is important to protect your skin from harmful UV rays, especially when hiking in sunny conditions.
A hat and sunglasses can also provide extra protection from the sun. Wearing appropriate clothing and sturdy hiking shoes will ensure your comfort and safety along the trail.
How to Wash Sneakers After a Hike
After a thrilling hiking adventure, your trusty sneakers might look like they’ve seen better days. But don’t fret – with a little TLC, you can have them looking and smelling fresh again. Here’s a step-by-step guide on how to wash your sneakers after hiking:
Step 1: Gather Your Supplies
Before you dive in, ensure you have everything you need:
- A soft-bristle brush or an old toothbrush
- Mild detergent or sneaker-specific cleaner
- A basin or bucket
- Warm water
- Remove the insoles if they are removable.
Step 2: Remove Loose Dirt
Give your sneakers a good shake to remove loose dirt and debris. Use the soft-bristle brush or an old toothbrush to scrub away any stubborn dirt on the outsoles and sides.
Step 3: Prepare the Cleaning Solution
Fill your basin or bucket with warm water and add a small amount of mild detergent or sneaker-specific cleaner. Mix it until you have a soapy solution.
Step 4: Scrub Gently
Dip the brush or toothbrush into the soapy water and scrub the uppers, soles, and any other dirty areas. Be gentle to avoid damaging the fabric or materials. Pay extra attention to stains and scuff marks.
Step 5: Rinse
After scrubbing, rinse your sneakers thoroughly with clean water. Ensure you remove all the soap residue.
Step 6: Dry Properly
Avoid using direct heat sources like radiators or dryers, as they can warp or damage your sneakers. Instead, place them in a well-ventilated area and allow them to air dry naturally. This might take a day or two, so be patient.
Step 7: Restore the Insoles
Once your sneakers are completely dry, reinsert the insoles if you removed them.
Step 8: Finishing Touches
Give your sneakers one final brush to fluff up the materials and restore their appearance. If necessary, you can apply a sneaker protector spray to repel future stains and dirt.
And there you have it – your hiking sneakers are clean and ready for your next adventure. Regular cleaning and care will not only keep your sneakers looking sharp but also extend their lifespan, ensuring they’re there to support you on many more memorable hikes to come.
So, can you hike in sneakers? The answer is a resounding yes!
While hiking boots may be the go-to choice for many hikers, sneakers can offer a comfortable and versatile alternative. Whether you’re a beginner or a seasoned hiker, don’t be afraid to wear your sneakers and hit the trails. Just make sure to choose the right pair, take the necessary precautions, and enjoy the adventure!
Related

